Stap 9: Gebruiken met Arduino
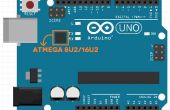
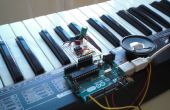
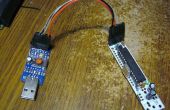
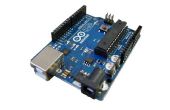
Nu kunnen we verbindingen tussen de Arduino board en USB-module...
Het is in feite simpel. Sluit de seriële poorten van de twee microcontrollers en GND:
- RX uit Atmega8 naar TX of Atmega32 (TX van Arduino)
- TX van Atmega8 naar RX Atmega32 (of RX van Arduino)
- GND van Atmega8 met GND van Atmega32(Arduino)
In mijn set-up die ik niet ben wordt aangesloten VCC omdat USB-interface wordt aangedreven door USB-port(or HUB) en Arduino(Atmega32) aangedreven afzonderlijk.
Nu kunnen we eerst testen met de Arduino IDE. Zoals u kunt zien dat het werkt met het standaard voorbeeld bestand >> voorbeelden >> mededeling >> MIDI.
void setup() { // Set MIDI baud rate: Serial.begin(31250); } void loop() { // play notes from F#-0 (0x1E) to F#-5 (0x5A): for (int note = 0x1E; note < 0x5A; note ++) { //Note on channel 1 (0x90), some note value (note), middle velocity (0x45): noteOn(0x90, note, 0x45); delay(100); //Note on channel 1 (0x90), some note value (note), silent velocity (0x00): noteOn(0x90, note, 0x00); delay(100); } } // plays a MIDI note. Doesn't check to see that // cmd is greater than 127, or that data values are less than 127: void noteOn(int cmd, int pitch, int velocity) { Serial.write(cmd); Serial.write(pitch); Serial.write(velocity); } U kunt ook het installeren van deze bibliotheek: https://github.com/FortySevenEffects/arduino_midi_library. Het is erg handig voor het maken van een MIDI-controller met Arduino.
