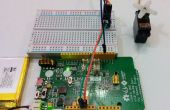
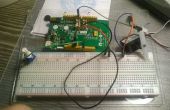
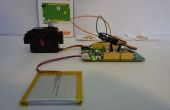
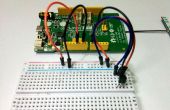
Stap 3: programma

Zorg ervoor dat u invoert in je WiFi referenties in de code het bord verbinden met uw WiFi-netwerk.
Voor het uploaden van het programma dat u wilt installeren van de plugin Linkit één samen met de arduino IDE. Hier vindt u instructies over hoe dat te doen in de officiële website. U kunt ook de IDE met de Linkit één plugin voorgeïnstalleerd van GitHub downloaden.
#define ARDUINO 150 // to avoid Blynk library use yield() in function run(), without this. system will crash!#include #include #include #include #define ard_log Serial.printfint i; Servo myservo;// You should get Auth Token in the Blynk App. // Go to the Project Settings (nut icon). char auth[] = "6d333bb1ef4b46cd9a53c5f01c2a74e9";#define WIFI_AP "SSID" #define WIFI_PASSWORD "PASSWORD" #define WIFI_AUTH LWIFI_WPA // choose from LWIFI_OPEN, LWIFI_WPA, or LWIFI_WEP according to your WiFi AP configurationvoid setup() {Serial.begin(9600);Blynk.begin(auth, WIFI_AP, WIFI_PASSWORD, WIFI_AUTH);Serial.println("System start!");myservo.attach(9);}BLYNK_WRITE(3) { myservo.write(param.asInt()); }uint16_t loop_id=0;void loop() {loop_id++;Serial.println(loop_id);Blynk.run(); }BLYNK_READ(0) {Serial.println("Blynk comes to read!");Blynk.virtualWrite(0, loop_id);}
